

Inference
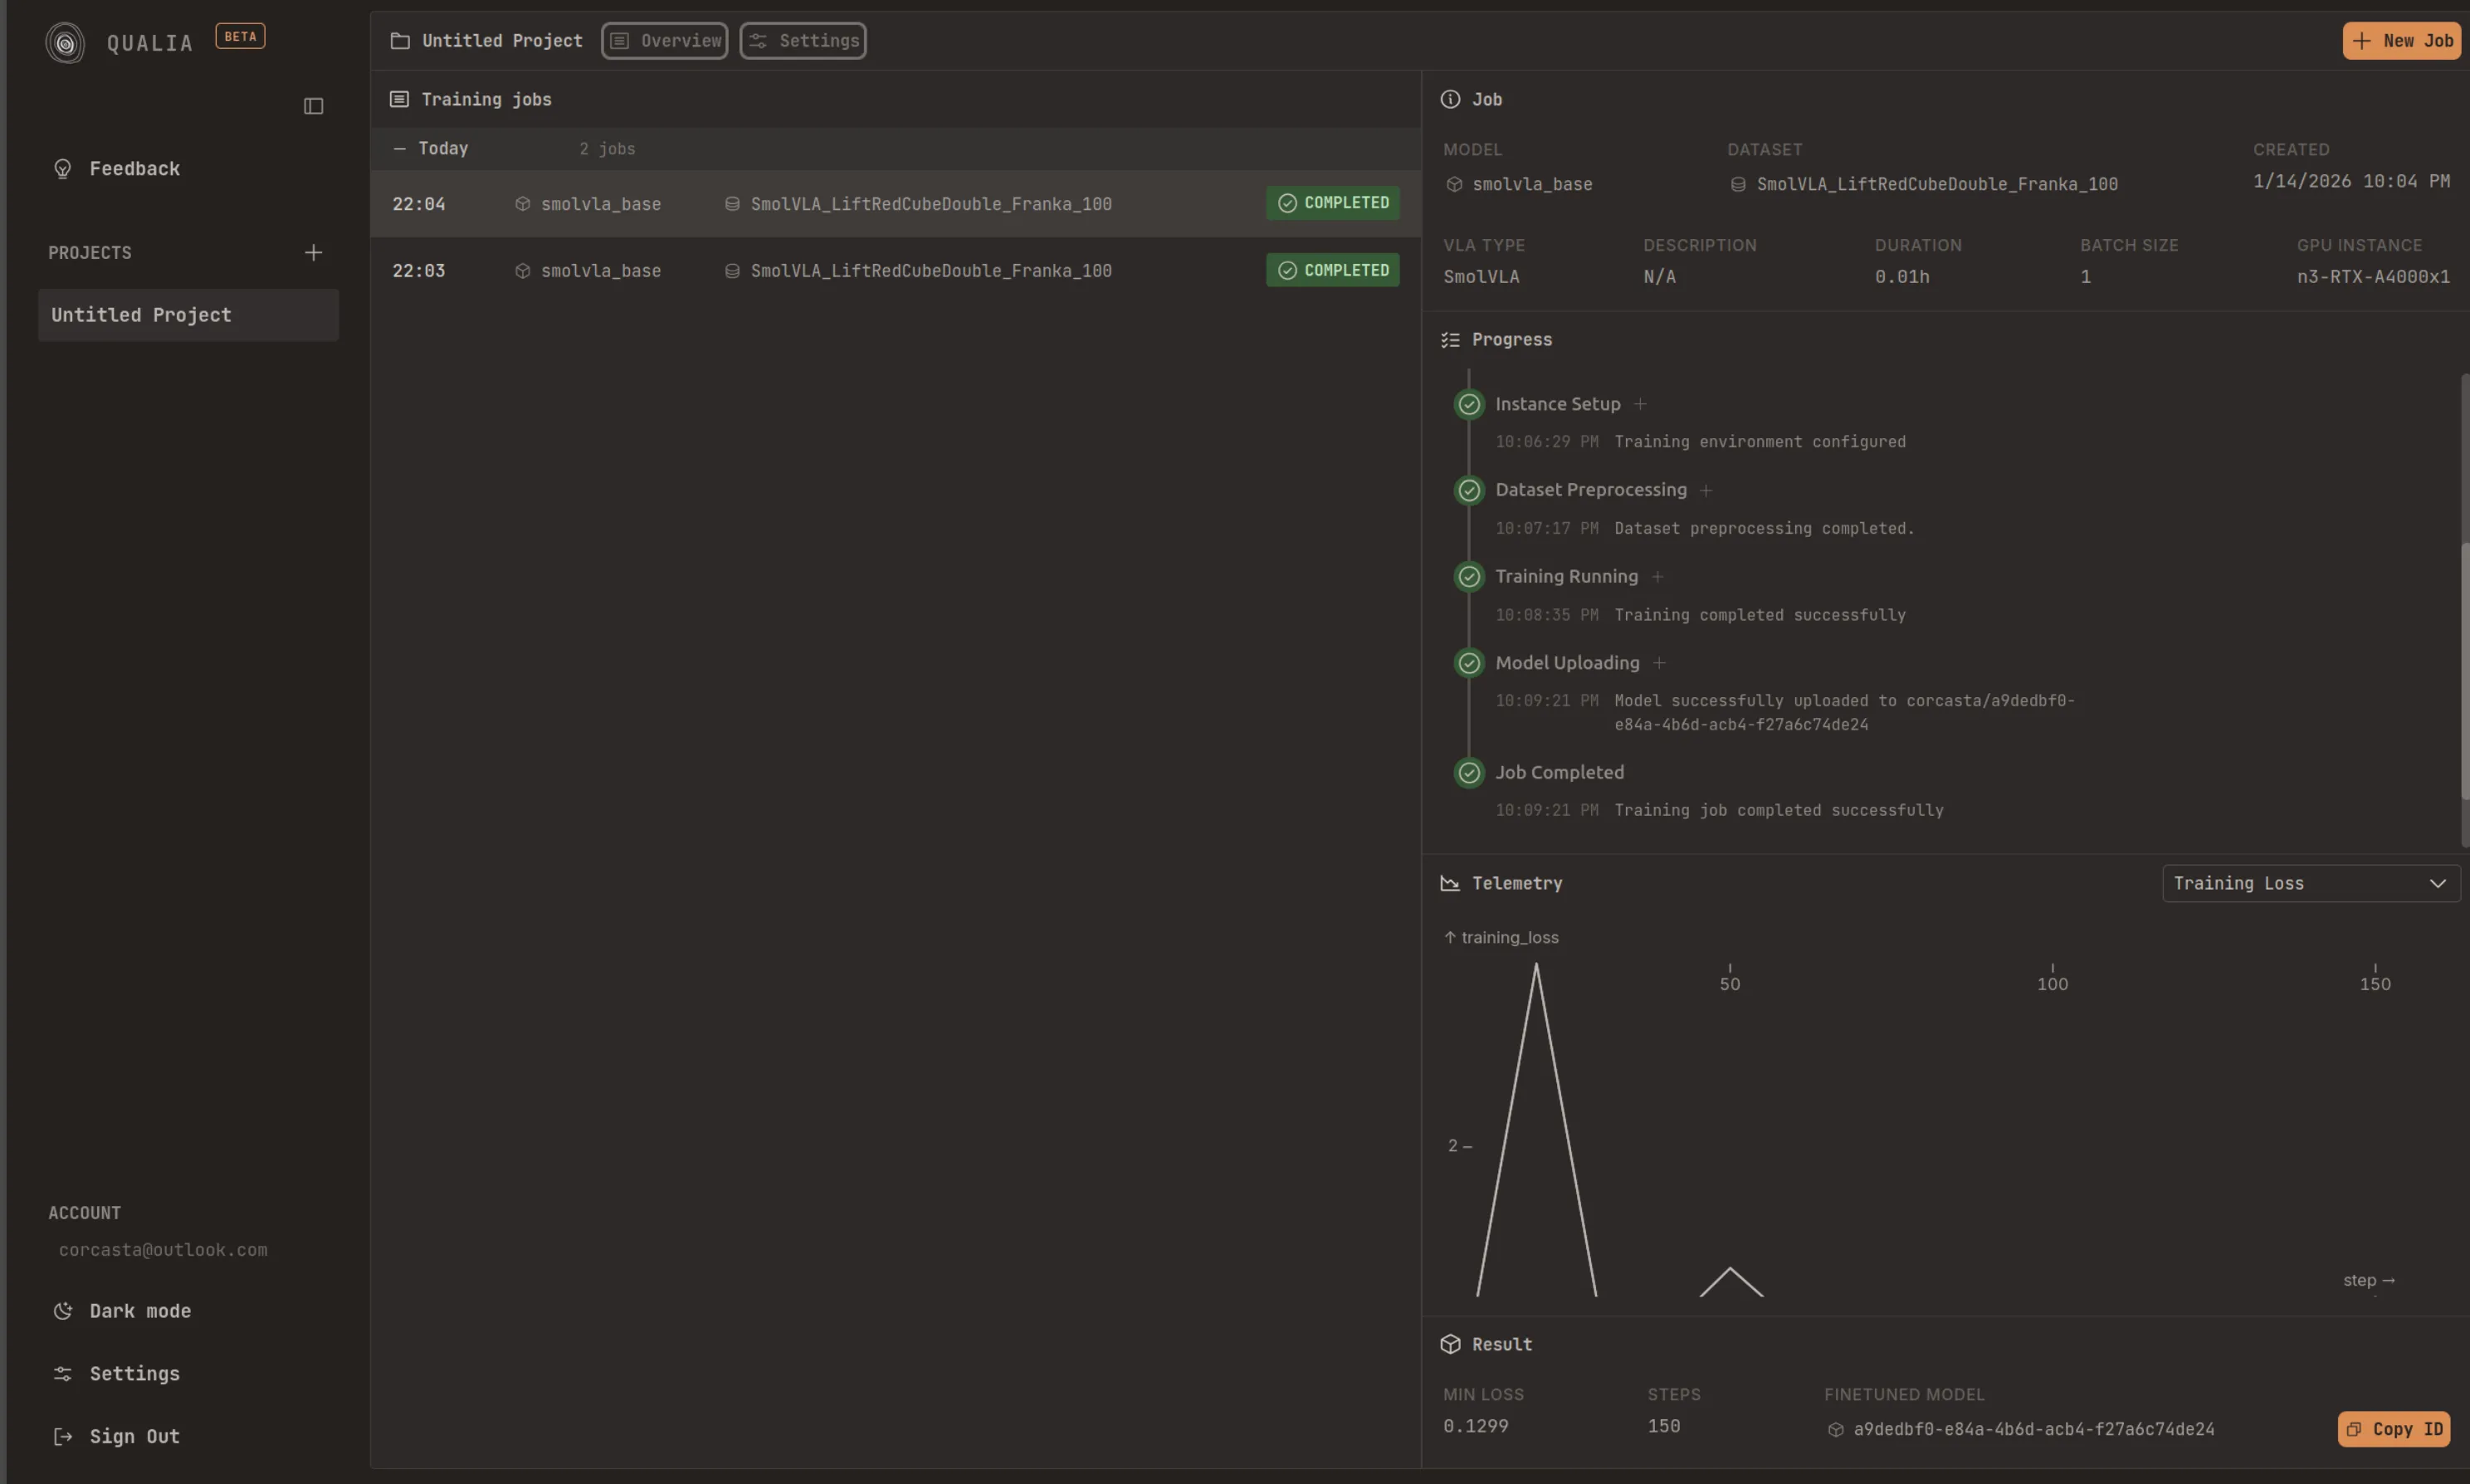
Deploy your trained models and run inference locally. After finishing a fine-tuning job, you will see the ‘repo id’ displayed below the Model Uploading step. All you need to do is copy that id and pass it to ‘—policy.path’ in the script below.
In your system/device, it is recommended that you are logged in to the HuggingFace Hub. You can follow the corresponding steps: Record a dataset. Once you are logged in, you can run inference in your setup by doing:
lerobot-record \ --robot.type=so101_follower \ --robot.port=/dev/ttyACM0 \ # <- Use your port --robot.id=my_blue_follower_arm \ # <- Use your robot id --robot.cameras="{ front: {type: opencv, index_or_path: 8, width: 640, height: 480, fps: 30}}" \ # <- Use your cameras --dataset.single_task="Grasp a lego block and put it in the bin." \ # <- Use the same task description you used in your dataset recording --dataset.repo_id=${HF_USER}/eval_DATASET_NAME_test \ # <- This will be the dataset name on HF Hub --dataset.episode_time_s=50 \ --dataset.num_episodes=10 \ --policy.path=HF_USER/FINETUNE_MODEL_NAME # <- Use your fine-tuned modelInstalling LeRobot 0.4.4
Section titled “Installing LeRobot 0.4.4”Qualia models are trained against LeRobot 0.4.4. Install it on your robot’s device before running inference.
Requirements: Python >= 3.10 (3.12 recommended), ffmpeg with libsvtav1
Option A: uv (recommended)
Section titled “Option A: uv (recommended)”uv handles Python versions and virtual environments automatically.
# Install uv if you don't have itcurl -LsSf https://astral.sh/uv/install.sh | sh
# Create a project and pin lerobotuv init my-robot && cd my-robotuv add 'lerobot==0.4.4'
# Or run lerobot commands directly without a projectuvx --from 'lerobot==0.4.4' lerobot --helpOption B: conda / miniforge
Section titled “Option B: conda / miniforge”Miniforge bundles ffmpeg automatically.
conda create -n lerobot python=3.12 -yconda activate lerobotpip install 'lerobot==0.4.4'Option C: pip + venv
Section titled “Option C: pip + venv”python3.12 -m venv .venvsource .venv/bin/activatepip install 'lerobot==0.4.4'GPU support
Section titled “GPU support”LeRobot depends on PyTorch. By default pip installs the CPU build. For CUDA, install the GPU wheel first:
# Example: CUDA 12.8 (check https://pytorch.org/get-started for your version)pip install torch torchvision --index-url https://download.pytorch.org/whl/cu128pip install 'lerobot==0.4.4'With uv, use --index-url or configure a [[tool.uv.index]] in pyproject.toml
(see uv docs on PyTorch).
Extras for specific models
Section titled “Extras for specific models”Install model-specific extras depending on what you fine-tuned:
pip install 'lerobot[smolvla]==0.4.4' # SmolVLAVerify installation
Section titled “Verify installation”python -c "import lerobot; print(lerobot.__version__)"# Expected: 0.4.4HuggingFace login
Section titled “HuggingFace login”You need to be logged in to pull your fine-tuned model from the Hub:
huggingface-cli loginTroubleshooting
Section titled “Troubleshooting”Linux build errors — if pip fails compiling native extensions, install these first:
sudo apt-get install cmake build-essential python3-dev pkg-config \ libavformat-dev libavcodec-dev libavdevice-dev libavutil-dev \ libswscale-dev libswresample-dev libavfilter-devFor other platforms see the PyAV compilation guide.
WSL (Windows) — also install evdev:
conda install evdev -c conda-forge# or: pip install evdev